Tuesday, March 22, 2011

My Kids Are Napping, Lets Paint a Brick Fireplace White.

 This fireplace just sucks the life out of the basement. It's dark and its right where your eye goes when you come down stairs. I knew it had potential so I decided to paint it up. I had painted the one in my living room upstairs so this project wasnt intimidating. I had looked at so many online images when I was thinking about doing the one upstairs. It really worried me the first time. I was so unsure and kept thinking it would just be a daunting task. If you're thinking of painting a brick fireplace, rest easy! Its not hard and you will be so happy when you're finished. The cost of this project is $0.00! I had all the paint already and just used an old roller and paint brush. I also have black spray paint that I'll use to spray the fireplace screen. The space above the fireplace will be completely covered up by an art project I have in the works. I'll post pictures of the project later on for you too.
You've seen the before....Can't get worse than that right?! So here it is with just the coat of primer. Getting better already...

 And here it is with the final coat of paint. I painted it with one of my favorite whites. Saffron Ivory by Valspar. I went with a satin, but as you can tell it's not shiny at all.

 
Be sure to move any rugs you don't want to get paint on because when you start rolling on the paint it will splatter. Or maybe I'm just a messy painter?
 Really LOAD UP the paint brush. Don't be afraid to get paint on your hands either. Use a really old paint brush because you're going to ruin it. The brick is rough and it's just the nature of the game. You have to get the paint into all the pores and grooves and that is hard on a brush. Fun though!
 Roll on the paint any chance you get. Load that roller up too. I was able to roll most of this fireplace and then used the brush for the cracks.
 Ok - I mixed primer on this project. I had a little in each can. As long as you stick with the same type - in this case water based primer - then your fine.


AND HERE IS THE UPSTAIRS FIREPLACE PROJECT
BEFORE
 AFTER

I hope you've enjoyed this post. If you're looking for inspiration to paint a brick fireplace there are lots of images out there. I found it helpful to Google "Painted brick fireplace" and then I just browsed through the images. What do you think of the almost finished project?

Curb Appeal for an old 1950's brick beauty. The lipstick is on!

Last summer was our first full summer in the house. I can not wait for this summer! I feel like I'll get to actually enjoy all the projects we finished from last summer. Aside from a garden in the back and pulling out a couple more bushes back there, I don't really have a whole lot to tackle on the outside of our home. Our house is kind of like a toddler. It had great bones, but lots of bruising. My daughter Peyton always has bruises on her little legs. Poor thing. You'd never know, because she never seems to feel pain. This house of ours has been through a lot. When we bought it my hubby walked in and said "Are you sure this is the best house for us out of the 30 that you looked at honey?"... He worked while I house hunted because our last home had sold in 5 days, with a contingency that we were moved in 45 days. I set out to find a house with 3 bedrooms on one floor in the Audubon park area. I had to live next to this park and wanted Peyton to go to Finch Elementary school as well. Here's the beautiful park:
This picture doesnt show 3/4ths of the park. In the summer we have outdoor concerts and bbqs. There is a great splash pad/water play area for the kids too. There are also 3 playgrounds at this park. Its amazing!

So anyways, Dan did not fall in love with the house. I convinced him, along with my realtor, that it was the best one with some TLC. I drew up my plans for the place with a couple of Peytons crayons and told him I'd need about $1,000 to make it pretty. He went for it. He totally put his faith in me. I love this man! About 45 days later we were in the house. With the help of about a dozen friends we were moved.

I wanted to show you the front of the home before I used about $300 to ad some curb appeal and then the final product. So here it is! Hold your breath!
 You can't even see the front door. Those massive, gigantic bushes or trees where overwhelming the place.
 The box elder bushes are pretty, when they're healthy. We decided that they all just had to go though.
 Dan attached a chain to his 1979 Ford F-150 and tried to rip them loose. In the end we ended up digging them out. It was SO much work but we knew we were putting some serious sweat equity into the home.
One last ugly picture of the house. Brick red garage door and fleshy color paint. Yuck!
RIP Subaru - We miss you. (I was T-boned in October, 2010 and the car was totaled).

AND HERE IT IS NOW.... 

 The Red door is like lipstick. I had always wanted a red door. For as long as I can remember I've wanted a red door. I don't know why? I went to Lowes and grabbed the premixed red in high gloss and went for it. I didnt even look at red paint swatches. I figured I would spend the $8 bucks on the premixed stuff and just go for it. I love it! It's even prettier with our cute girl Peyton in front of it pointing at every airplane she sees.


.

There you have it. What do you think? The black garage door was painted with the same paint I used on the vanity makeover in the basement bathroom. High gloss premixed black paint from Lowes. I found a 5 gallon bucket of paint on clearance at lowes for a whopping $18.00! It was a perfect match to the paint I was going to have mixed. So the house is painted in a khaki with Valspar Ivory White trim, a premixed red Valspar paint on the door and then the inside trim of the windows is the same color as the house color (I thought two colors on the window trim would add a little more flare). I also painted the railings with the black - they were rusty and ugly. Now they're fresh and pretty too. 
ONE LAST THING....


We added shutters! What do you think?

Monday, March 21, 2011

Basement Bathroom Makeover. Horizontal Stripes here we come!

So after living in our 1950s rancher for about a year now, I finally got some down time to tackle the basement bathroom. The only thing that's really important to understand is this...My hubby has been working from home for about a year and this is his bathroom. I happen to be married to a guy that is as clean as me most of the time and I totally appreciate that about him, but...this bathroom needed some serious TLC. I don't think the previous owner put any love into this bathroom. However, now that I want to turn the basement into a play zone for the kiddos and I really want to give my hubby a nice bathroom to use when he's down there too, well it's time to get moving on this project.  Anyways, here it is in the beginning stages.


 Getting primed and ready for some black paint


Just painting the pipes made a nice difference!


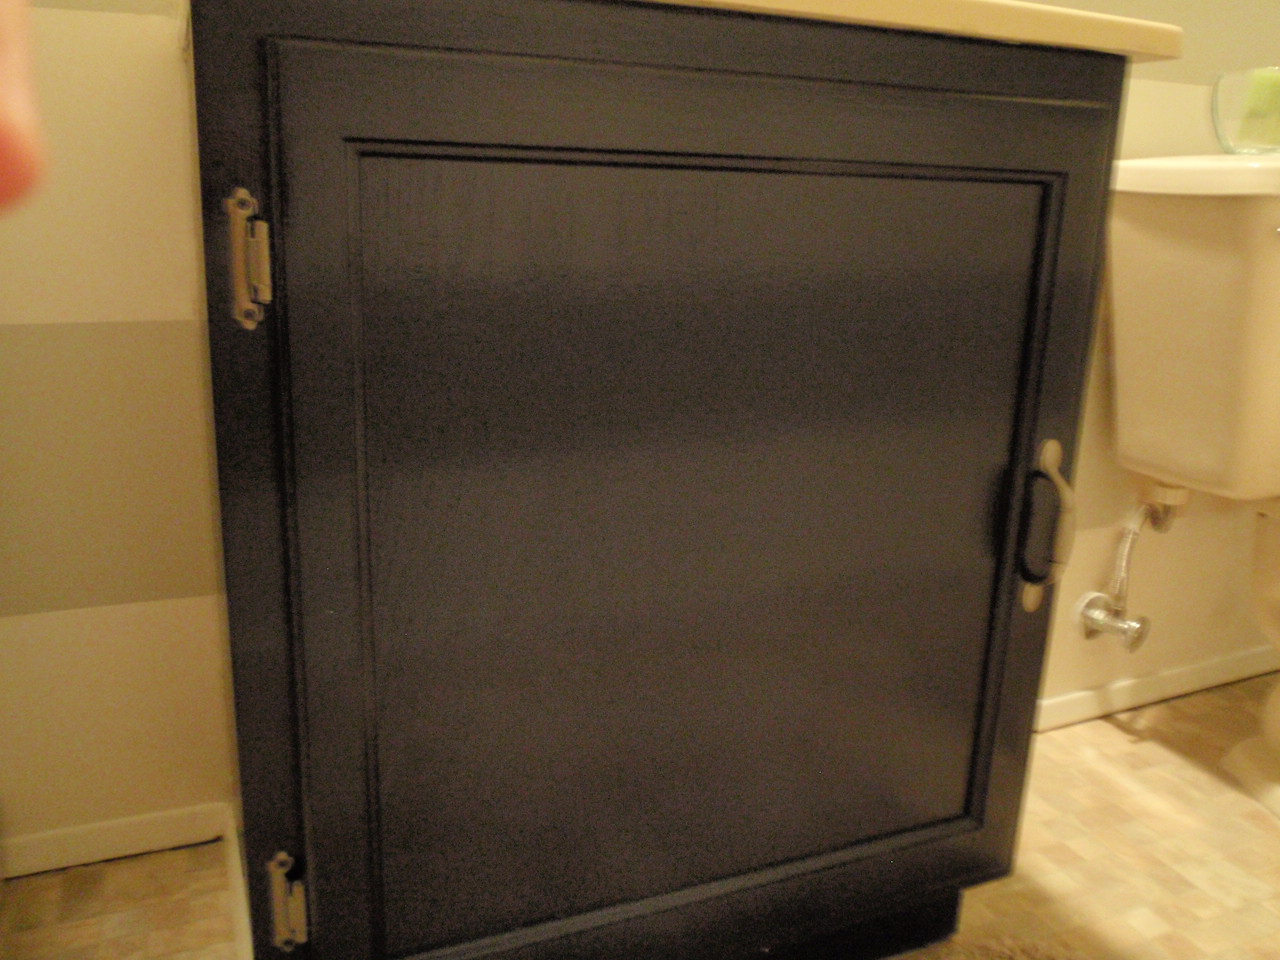
 High gloss black (indoor outdoor paint) went on. I primed it and then painted it. This project took me about 2 hours. I had to let the primer dry about an hour. The black went on perfectly. It only took one coat.


I wanted to show you the lid on the paint can so that you would know all the dirty details. The black is just a generic black indoor outdoor paint that comes premixed at Lowes. It costs around $22.00 for a gallon. Great coverage. The grey that I used for the stripes is in the next pic. I dont think it's very visible though. Sorry. I used Glidden Dolphin Fin Egg Shell paint. Its the same color that I used in my bedroom and on the wood paneling in the basement. Those pictures will be posted soon as well. I LOVE this color. It takes on many, many shades depending on the light, but I love it in every space I've used it in. I think gray is super contemporary too and you just can't go wrong with this color.


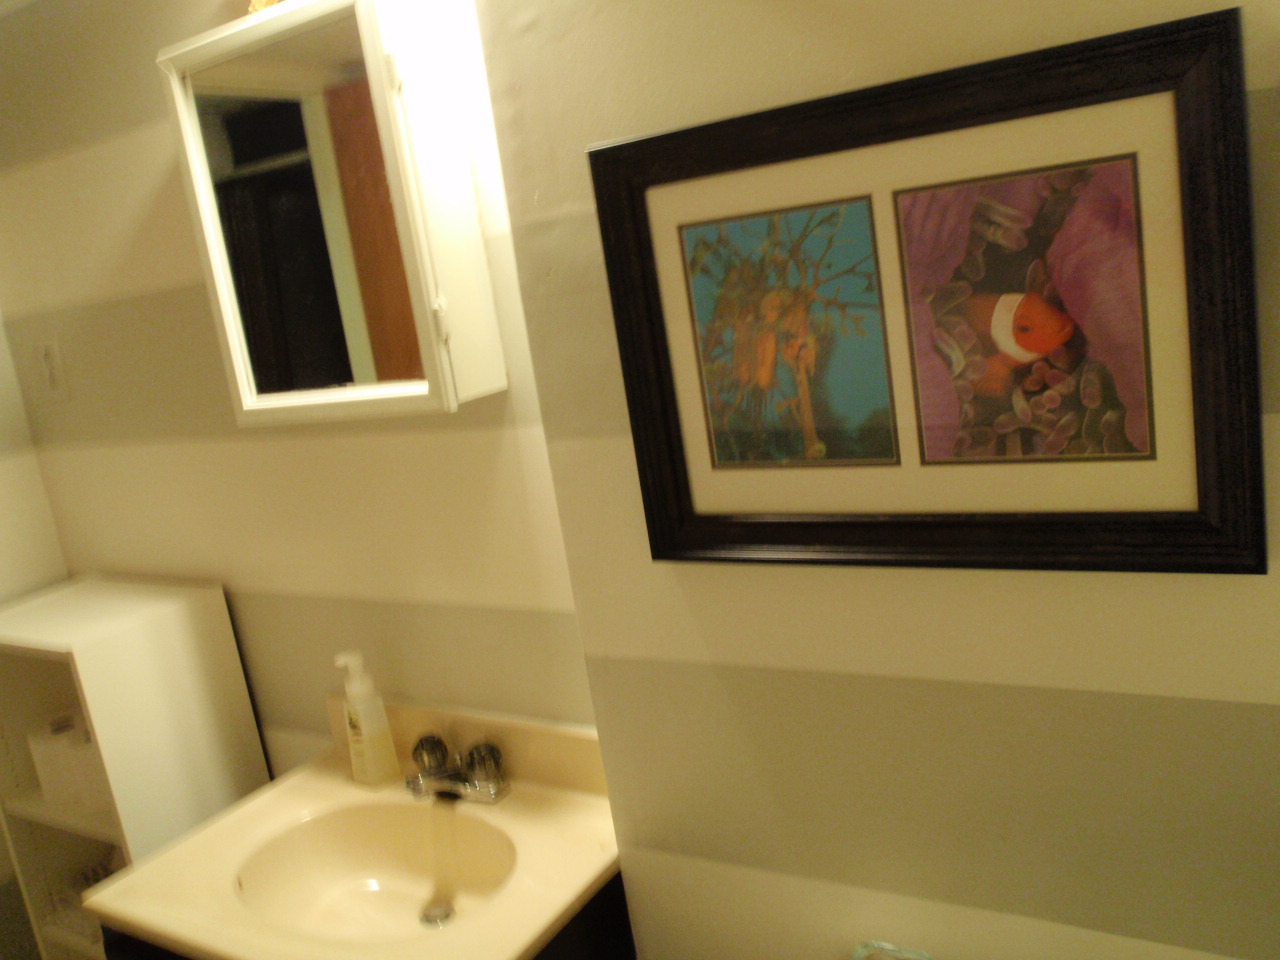
So let me just say - those stripes were a pain. I first measured out the height of the wall so that I could figure out how many striped I could do. I settled with 10 inch stripes. Then I took a level and a pencil and, starting from the top, I made a 10 inch mark every foot or so on the wall, making sure that each mark was level with the last mark. I wanted to be able to go back and use those marks as a guide for where to lay my tape. Once I got the first line marked for my first stripe I taped it. Then I went back and did that all over again. Each stripe took about 15 minutes to do. It was more time consuming where the vent was. Ugh that vent. After about 2 hours total I had all my stripes. You have to be careful to keep track of which color will go where because you always want to make sure that the line you're taping will give you a 10 inch stripe when you pull the tape off (or whatever size stripe you want). I'll put up a tutorial on this with pictures eventually.

So after some major work - here it is now....


 I love the sheen. High gloss in a basement bath with no window just gives it the feeling that there is light coming from somewhere.

Notice the handle on the cabinet? I sprayed the hinges and the knob with 3 coats of stainless steel Rustoleum spray paint that I had left over from a kitchen project.


 For the art above the toilet I took an old frame I had and two pages from a scuba diving book and married them up to add some much needed color to the room. The star fish above the mirror is a treasure from our baby moon trip we took to San Diego, CA when I was pregnant with Peyton.
I found that white shelf to the left of the sink on Craigslist for $5. It was in perfect condition. If I would have bought this IKEA shelf new it would have cost me over $25. Score!

I hope you've enjoyed this latest makeover. It was hard work but I think it paid off. I want to find a stainless towel rack and add in some hand towels with some color. Thinking turquoise. Do you have any fun bathroom makeover stories you'd like to share? Have you painted horizontal striped before?

Weekend project #5,000 or something like that! Putting up the trim.

Sorry, it's been awhile since my last post. I'm really new to the blogging world, but very excited to get all my projects on the web so that I can give back to so many others who have shared with me.

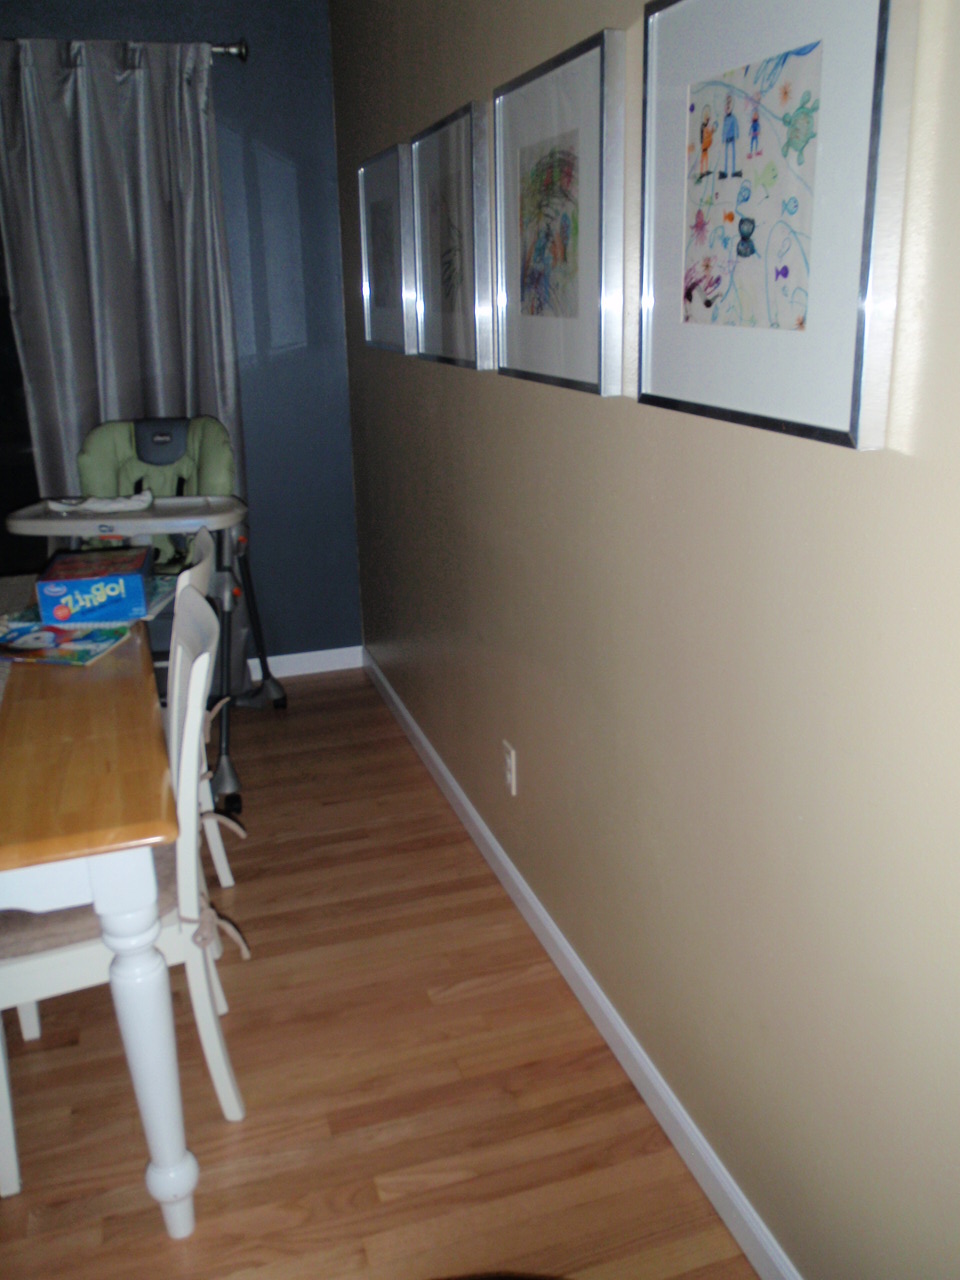
So my Mom and her partner visited us this past weekend. She lives in Longview, WA and was missing her grand kids, and us too I think ha! One of the first things I was asked when they walked in the house was "When are you going to do the trim, Heather?"...and of course I responded by saying "I'd love to do it now, but just dont have the money".... They offered to take us right away to buy the trim. They wanted to get this project out of the way and I was thrilled and so thankful! They're amazing. We get to see them often and every time my Mom and Dianne visit, I feel like I've accomplished something new in my own personal life, but also on the house projects. So what did it look like? Why would they think we needed to tackle this project? Well here it is before:


So....we went to Home Depot and found the molding we liked. It was amazing! A contractors back was half the price as the cost if you bought individual trim pieces. For approx 120 lineal feet they paid $48.00! Why didnt we do this sooner? And the best part - it was pre-primed. So after measuring all the walls and carefully marking how the molding needed to be cut we started the project.


I'll put a quick tutorial on this on the DIY tab. I think the pics show the trim with one coat of paint. We ended up doing two coats on top of the already primed boards.
3 hours later we had the hallway, dining room and living room done. My hubby rocked it out and did awesome! We painted the trim in a glossy white. I found the paint for $7 on clearance at Walmart. Gotta love that!


We did the bedrooms a few days later, using the old trim that we wripped out when the carpet came out. We just primed and painted it. It was better than running back to the hardware store to spend money - and why do that when you have molding you can re-use anyways?

And here it is now... So pretty, and complete. It was super easy and fun. I'll have a full tutorial up tomorrow in my DIY section. Thanks for reading!


 Had to get a picture of our old boxer Kiyah. Such a chill dog!


Stay tuned... Heres a sneak peak of my next blog. The Red Door Project... and of course thats my cutie pie Peyton.