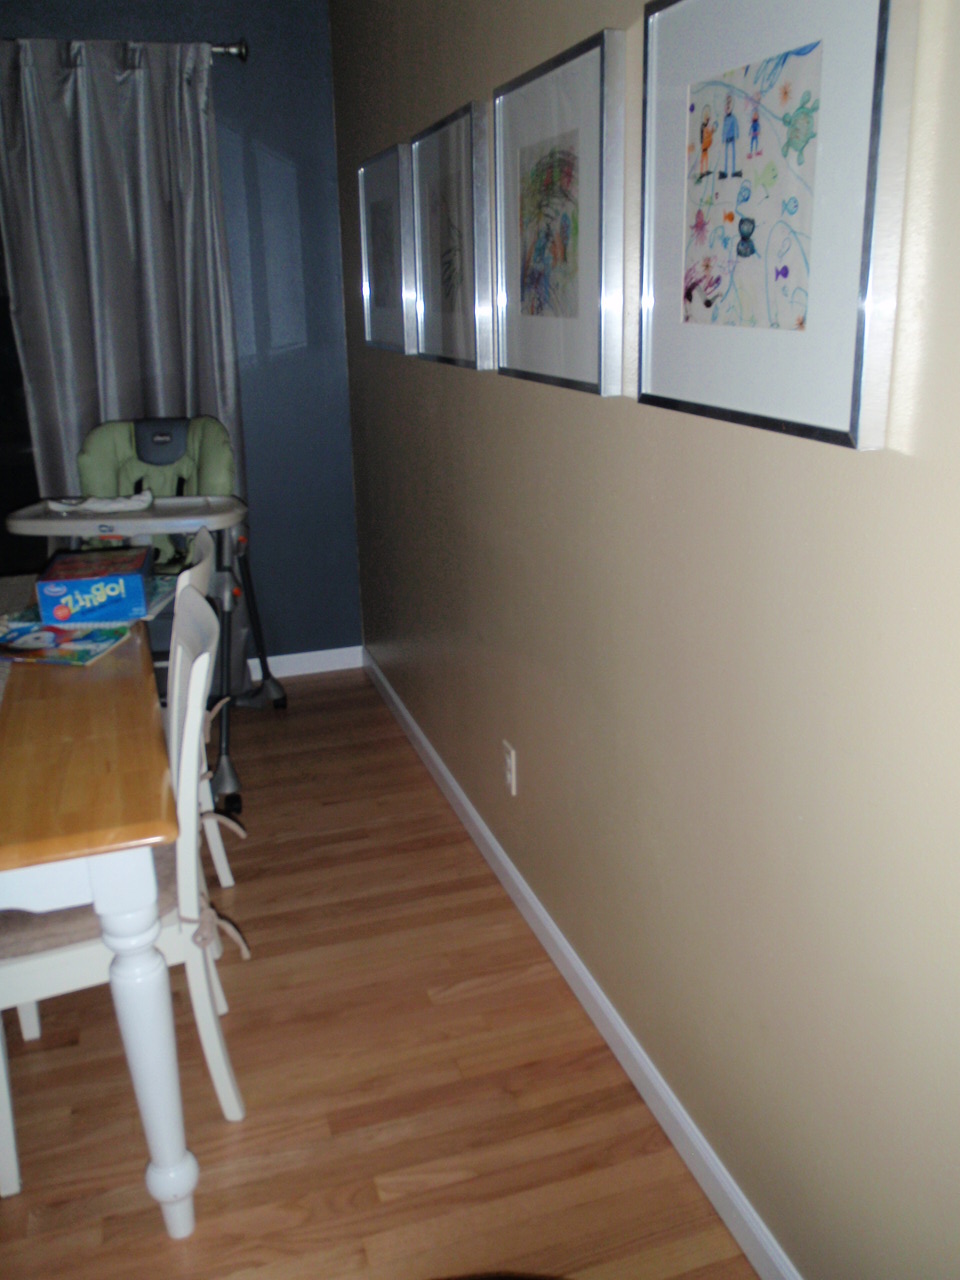
So my Mom and her partner visited us this past weekend. She lives in Longview, WA and was missing her grand kids, and us too I think ha! One of the first things I was asked when they walked in the house was "When are you going to do the trim, Heather?"...and of course I responded by saying "I'd love to do it now, but just dont have the money".... They offered to take us right away to buy the trim. They wanted to get this project out of the way and I was thrilled and so thankful! They're amazing. We get to see them often and every time my Mom and Dianne visit, I feel like I've accomplished something new in my own personal life, but also on the house projects. So what did it look like? Why would they think we needed to tackle this project? Well here it is before:


So....we went to Home Depot and found the molding we liked. It was amazing! A contractors back was half the price as the cost if you bought individual trim pieces. For approx 120 lineal feet they paid $48.00! Why didnt we do this sooner? And the best part - it was pre-primed. So after measuring all the walls and carefully marking how the molding needed to be cut we started the project.


I'll put a quick tutorial on this on the DIY tab. I think the pics show the trim with one coat of paint. We ended up doing two coats on top of the already primed boards.
3 hours later we had the hallway, dining room and living room done. My hubby rocked it out and did awesome! We painted the trim in a glossy white. I found the paint for $7 on clearance at Walmart. Gotta love that!


We did the bedrooms a few days later, using the old trim that we wripped out when the carpet came out. We just primed and painted it. It was better than running back to the hardware store to spend money - and why do that when you have molding you can re-use anyways?
And here it is now... So pretty, and complete. It was super easy and fun. I'll have a full tutorial up tomorrow in my DIY section. Thanks for reading!


Had to get a picture of our old boxer Kiyah. Such a chill dog!


Stay tuned... Heres a sneak peak of my next blog. The Red Door Project... and of course thats my cutie pie Peyton.

No comments:
Post a Comment
Just so you know - I think you're RAD for commenting!