THE LOWDOWN
BEFORE
Brass and just wrong...
I put masking tape over the space where the light bulb goes and cleaned it all up with a damp rag.
I put masking tape over the space where the light bulb goes and cleaned it all up with a damp rag.

I decided that turning it upside down would be the easiest way to spray it first (less drips).

The hubby and I picked an ivory white KRYLON Satin spray paint (Walmart for $3ish)

Apply about 6 thin coats, letting them dry for about 2 minutes between coats. Honestly, I can never let them dry that long. I basically spray, step away to examine and spray again. I like to get a nice even first coat all at once and I'm so impatient!

And there is my nice even first coat (above photo). I sprayed it about 5-6 times all over in even strokes. Took about 1 can - little less.

I forgot to mention - After I got it sprayed when it was upside down, I then flipped it and hung it up on a nail (already in a bored in the garage) and then sprayed again.
Now onto the good stuff...
DIY STRIPES USING BLACK ELECTRIC TAPE
So when I said that something beautiful came from something annoying (or some variation of that), what I meant was this...I was cleaning up all the electrical stuff my hubby had laying around and saw the black tape. For some reason my little brain started stirring and I thought BAM!! I need to put stripes on the bad boy. So I grabbed it and my newly painted chandelier (dry to the touch - see I can't wait even a day) and started just going with it. I didnt plan this out and I've never seen this done before. I ran it by my Mom, hubby, Sara and Shawnell via text really quick after I got one done and this is what they said:
Mom "Hmmm, I'll have to wait and see..."
Hubby "Wow! That's kinda crazy Babe. You know how much I love your stuff. Hmmm"
Sara "It's kind of fun!...I'd say go for it! Worst that happens, you have to take the tape off"
Mom "Hmmm, I'll have to wait and see..."
Hubby "Wow! That's kinda crazy Babe. You know how much I love your stuff. Hmmm"
Sara "It's kind of fun!...I'd say go for it! Worst that happens, you have to take the tape off"
Shawnell "Funky!"
I took all of this to heart....and ran with it. Hope you like it Mom! Hubby is loving the finished product. We decided that it's an ode to our electrical mishap. I'll post more pictures after we get it up in the gazebo area.
YEP! Its going outside for the summer - Hanging above my outdoor dining table. Later it will be in my daughters room - over her reading nook.
The Picture I Texted...
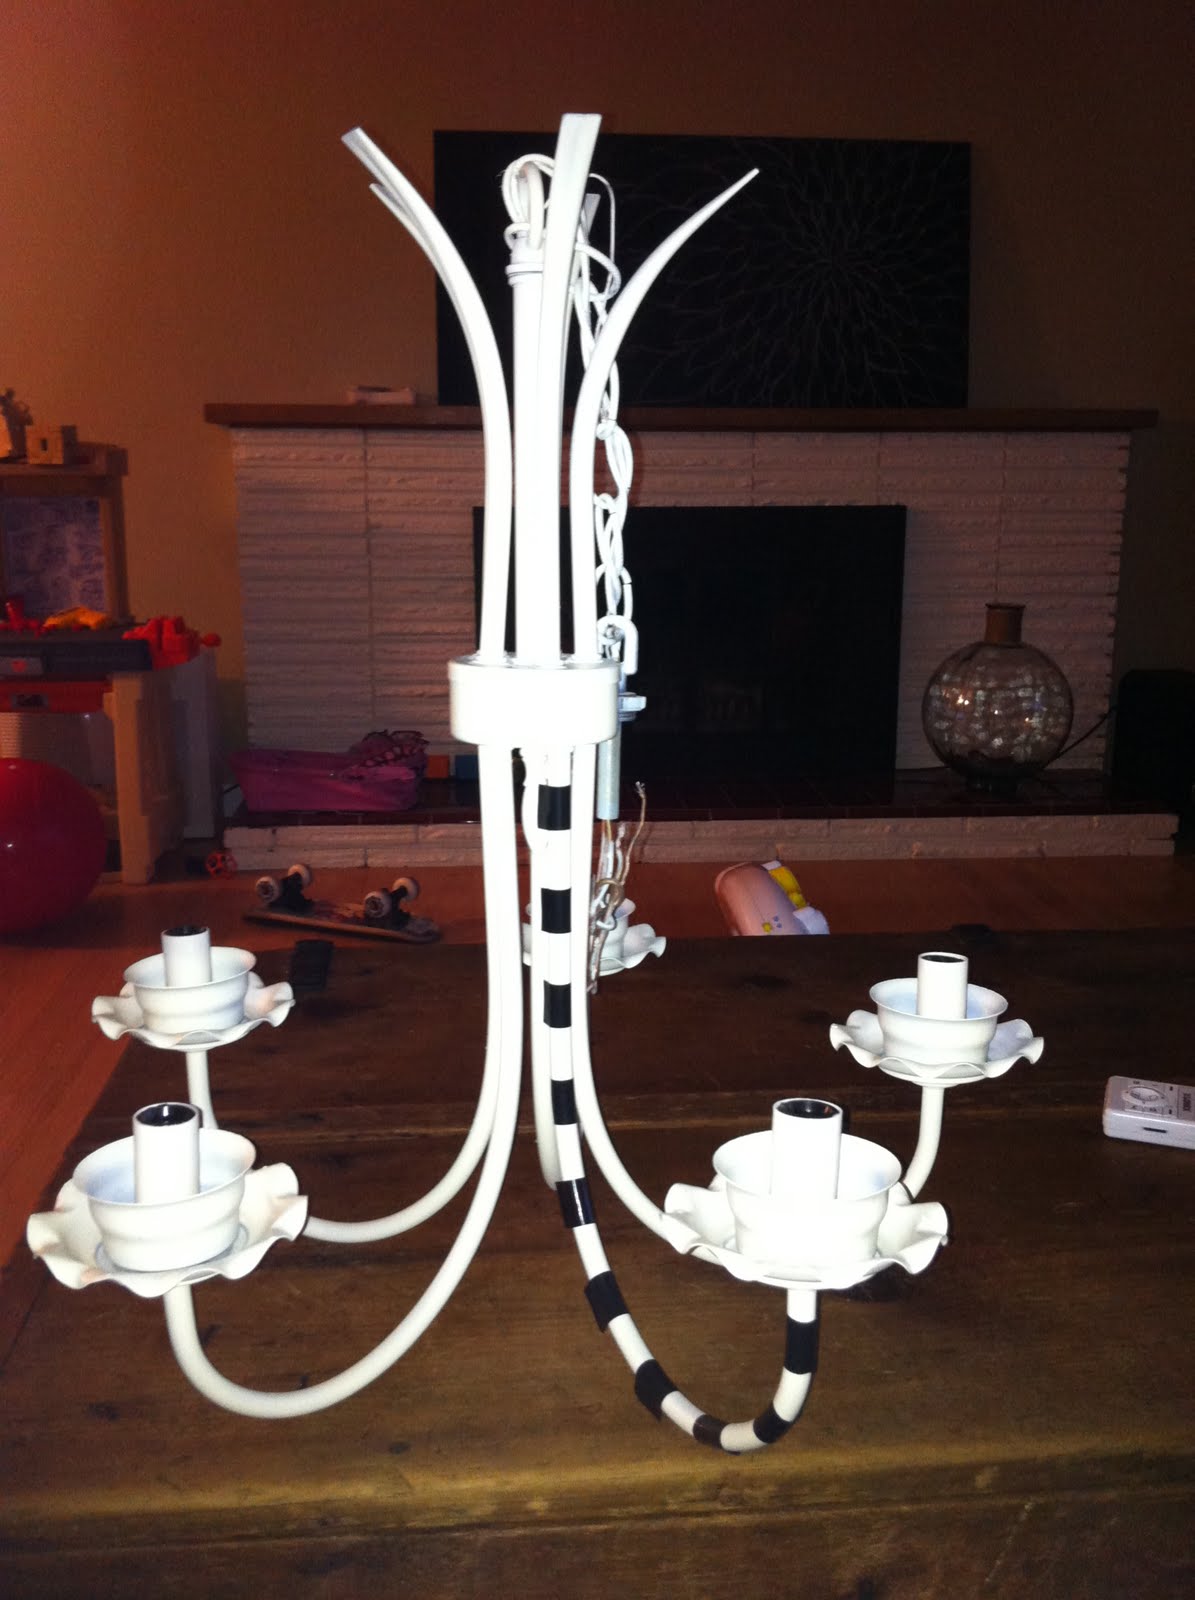


AFTER
The chandelier painted white & striped with electrical tape
The chandelier painted white & striped with electrical tape


I'd love to know if you've ever seen anything like this? What do you think?
Here's a sneak peak of our outdoor gazebo area. There will be 2 more curtains up over the backside polls. They are functional - They close to give us more shade if needed. You can't see it in this picture, but we have a bench on the back side of the dining table. I'll get you some close ups when it's done.

Didnt you use a spray primer before painting? Just wondering. Thanks
ReplyDeleteI didn't use a primer on this piece. I prime pieces that Ill be touching a lot or that will come in contact with anything that could scratch it, but since this is just hanging I didn't worry about it.
Delete